
"That’s Not the Right Color!": Why You Shouldn’t Panic When You Open the Pot
This is probably the most nerve-wracking moment in painting. You open a beautiful box, anticipate your masterpiece, make the first brushstroke and… freeze in horror: “Oh no, that’s not the right color! The picture is brighter, but what’s in the pot looks like pale pastel. Is it a mistake? A fake?”
Don’t worry. In 99% of cases, it’s not the manufacturer’s fault—it’s the tricky physics of acrylic paint and optical illusions at play.
Let’s break down why your eyes might be deceived.

Why Does the Color Seem ‘Wrong’?
The “Lonely Spot” Phenomenon
Our vision perceives color based on what’s next to it. Any stroke on a pure white canvas will always look darker or even “dirty.” The white background creates an extreme contrast with the pigment.
Wait until you’ve filled at least a third of your painting. Once the white space disappears, the color “opens up” and becomes just the way it’s supposed to be.
Acrylic is a Polymer Emulsion
When wet, acrylic paints contain white binder particles, making the paint inside the pot always appear lighter and more “muted.” But as the paint dries, the binder turns transparent and the pigment looks richer. After drying, the color may become 1–2 shades darker and more vibrant.
The “Glossy Box” Effect
The picture on the packaging is printed on glossy paper, which gleams. Meanwhile, your canvas is matte and porous, absorbing light. Any color on it will look less intense—until you apply varnish.

How to Stop Worrying?
Three Tips for the Perfect Result:
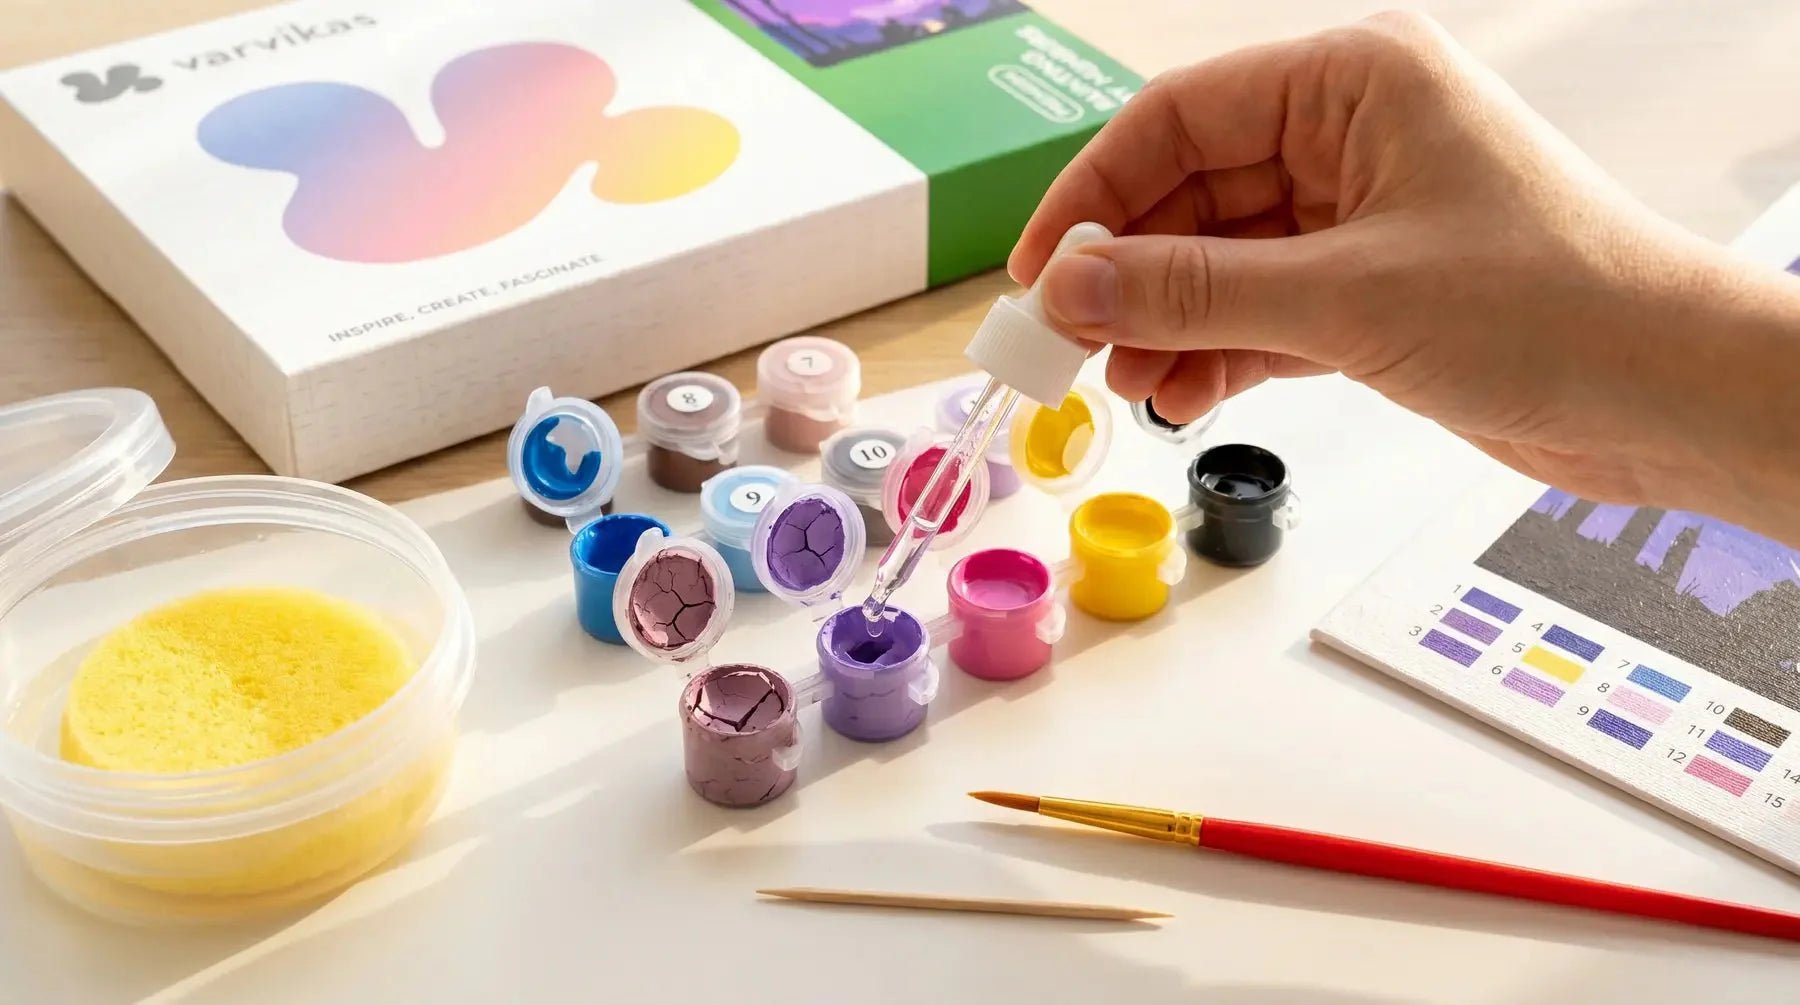
The “Dry Swatch” Test
Don’t judge a paint by its appearance in the pot. To see the real shade:
- Apply a bit of paint to the edge of the canvas or a scrap of paper.
- Let it dry for 5 minutes. You’ll see the chalkiness fade and the true pigment emerge.
- Pro tip: To stop the white background from tricking your eyes, cover the area around the swatch with your hands or look at it through a “window” made with your fingers. Without blinding white around it, you'll see the color is truly pure and rich.

Paint from Dark to Light
This is a golden rule among artists. Start with the darkest, largest areas. Once the white canvas is covered, the lighter colors will suddenly appear brighter and more vibrant.
The Final Varnish
If your painting seems dull at the end, use a gloss acrylic varnish—Varvikas kits always include one. It brings back the depth and richness the paints had when they were wet.
Varvikas Tip:
Photograph part of your work with your smartphone. Phone cameras automatically boost contrast. If the color looks right in the photo, your set is perfect—your eyes are just used to comparing everything to the white canvas.
Trust the process—the magic happens close to the finish! 🪄🧙♀️


Leave a comment
This site is protected by hCaptcha and the hCaptcha Privacy Policy and Terms of Service apply.